

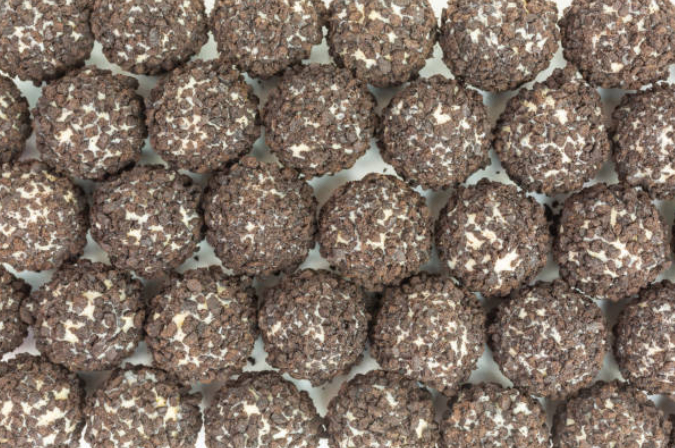
These no-bake Oreo balls are rich, creamy, and dangerously addictive. Made with just three main ingredients, they’re the perfect bite-sized treat for parties, holidays, or a quick chocolate fix.
🍴 Ingredients (Serves 4)
- 1 package (14.3 oz) Oreo cookies
- 8 oz cream cheese, softened
- 12 oz semi-sweet or white chocolate, melted
- Optional toppings: crushed Oreos, sprinkles, drizzle of contrasting chocolate
🔥 Instructions
Crush the Cookies:
Add the Oreos to a food processor and pulse until they become fine crumbs. Reserve 1–2 tablespoons for garnish if desired.
Mix the Dough:
In a mixing bowl, combine the Oreo crumbs with softened cream cheese. Mix until smooth and well blended.
Form the Balls:
Scoop out the mixture and roll into 1-inch balls. Place on a parchment-lined baking sheet and refrigerate for at least 30 minutes or freeze for 15 minutes until firm.
Dip in Chocolate:
Melt your chocolate in a microwave-safe bowl in 30-second intervals, stirring between each. Dip each Oreo ball into the melted chocolate, using a fork to lift and allow excess to drip off. Return to the baking sheet.
Decorate:
Before the chocolate sets, top with crushed Oreos, sprinkles, or drizzle with a contrasting chocolate. Let them set completely at room temperature or chill for faster results.
Serve or Store:
Enjoy immediately or refrigerate in an airtight container for up to one week.
📦 Amazon Must-Haves to Help You Create the Best Oreo Balls
- 🍪 Food Processor — Makes crushing Oreos a breeze with even, fine crumbs every time.
- 🧈 Hand Mixer — Perfect for blending cream cheese into cookie crumbs quickly and smoothly.
- 🍫 Chocolate Melting Wafers — Reliable and easy-to-use chocolate for that flawless candy coating.
- 📦 Parchment Paper Sheets — Prevent sticking and make cleanup a snap.
- 🎁 Decorative Candy Boxes — Turn these treats into perfect gifts or party favors.
💡 Helpful Tip: Use a fork or dipping tool to roll and lift the Oreo balls from the chocolate—it keeps your hands clean and your coating smooth and professional-looking!
Leave a Reply